Take out the screw and flip the holder out of the way (up).


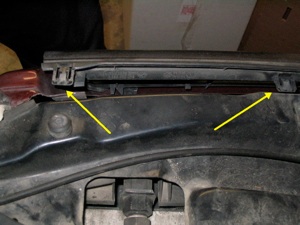
-->
More release points
<--
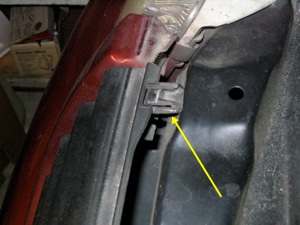

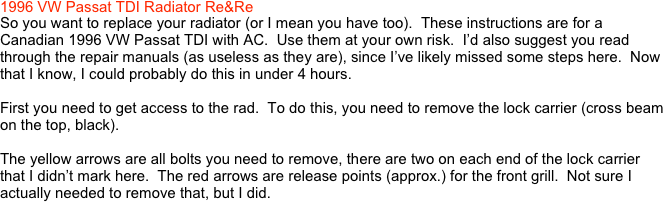
Pry out the side light, there is a metal tab that acts as a spring that fits in where the red arrow is.
The yellow arrow is a screw you need to remove to get the trim piece off.
More screws and take out the plastic guard pieces.
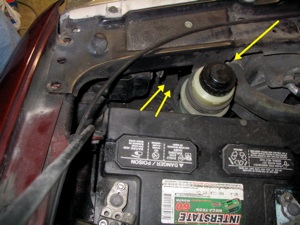
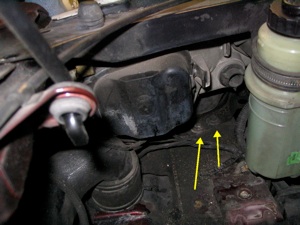
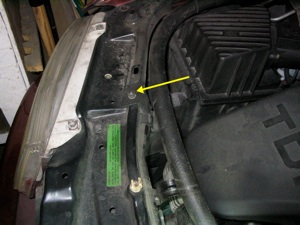
To get the lock carrier out, you need to remove the 2 pairs of screws on each side. You probably need to remove the battery for this.
Also unclamp the reservoir.
Also undo any electrical connectors you need to.
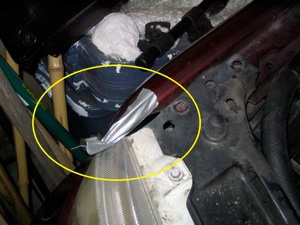
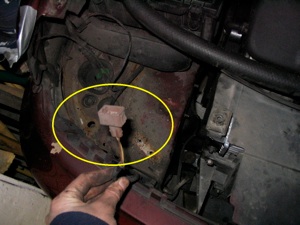
Once the lock carrier is free, put some tape over the edges of the car (yellow circle below) and then work it out. I found I could lift the battery side only and push in a little and it popped right out.
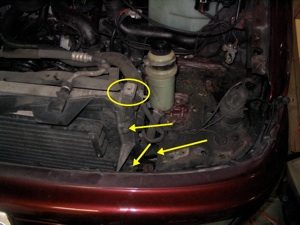
Now you should have access to the rad.
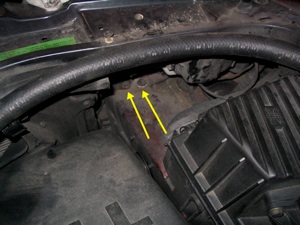
Take the rubber and metal caps off before you lose them (yellow circles).
Unbolt the AC rad.
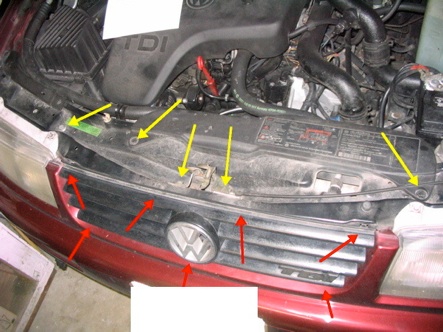
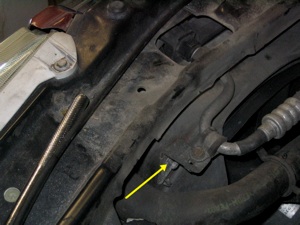
Unbolt the rad from the car using a long extension (look down, way down). I WD-40 those bolts since mine were rusted and I had to run to the store to get a long extension.
Release the hoses and other connectors and pull the beast free. I had to apply a little force get past the hose.
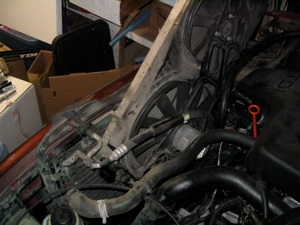
Once out, you can unbolt the fan and remove the sensor and put it on the new rad.
The 8 bolts holes on the new rad weren’t tapped for me, I had to thread them myself. Not a big deal, just be prepared.
When you put in the new rad, put a piece of cardboard between the new rad and the AC rad to protect the new rad from damage as you slide it in. Also use cardboard under the AC rad hose that runs over top the rad until you bolt it all together.
Then put everything back together following the torques from the repair manual. Don’t forget to replace the O-ring.
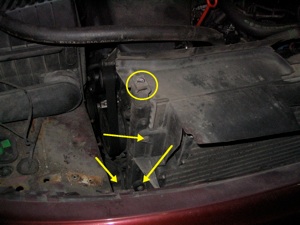
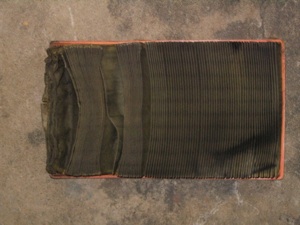
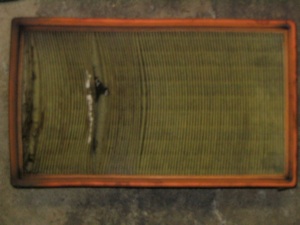
Don’t let this happen to your air filter.
First time I’ve had the air filter out since we bought the car, yes that is a hole in it.
Do you know what this connector is for? I don’t, I’m guessing the fog lights (that I don’t have) since there is one on both sides of the car.